Raid Guide
Strategies, encounter guides, and curated videos to help our raid team prepare and progress.
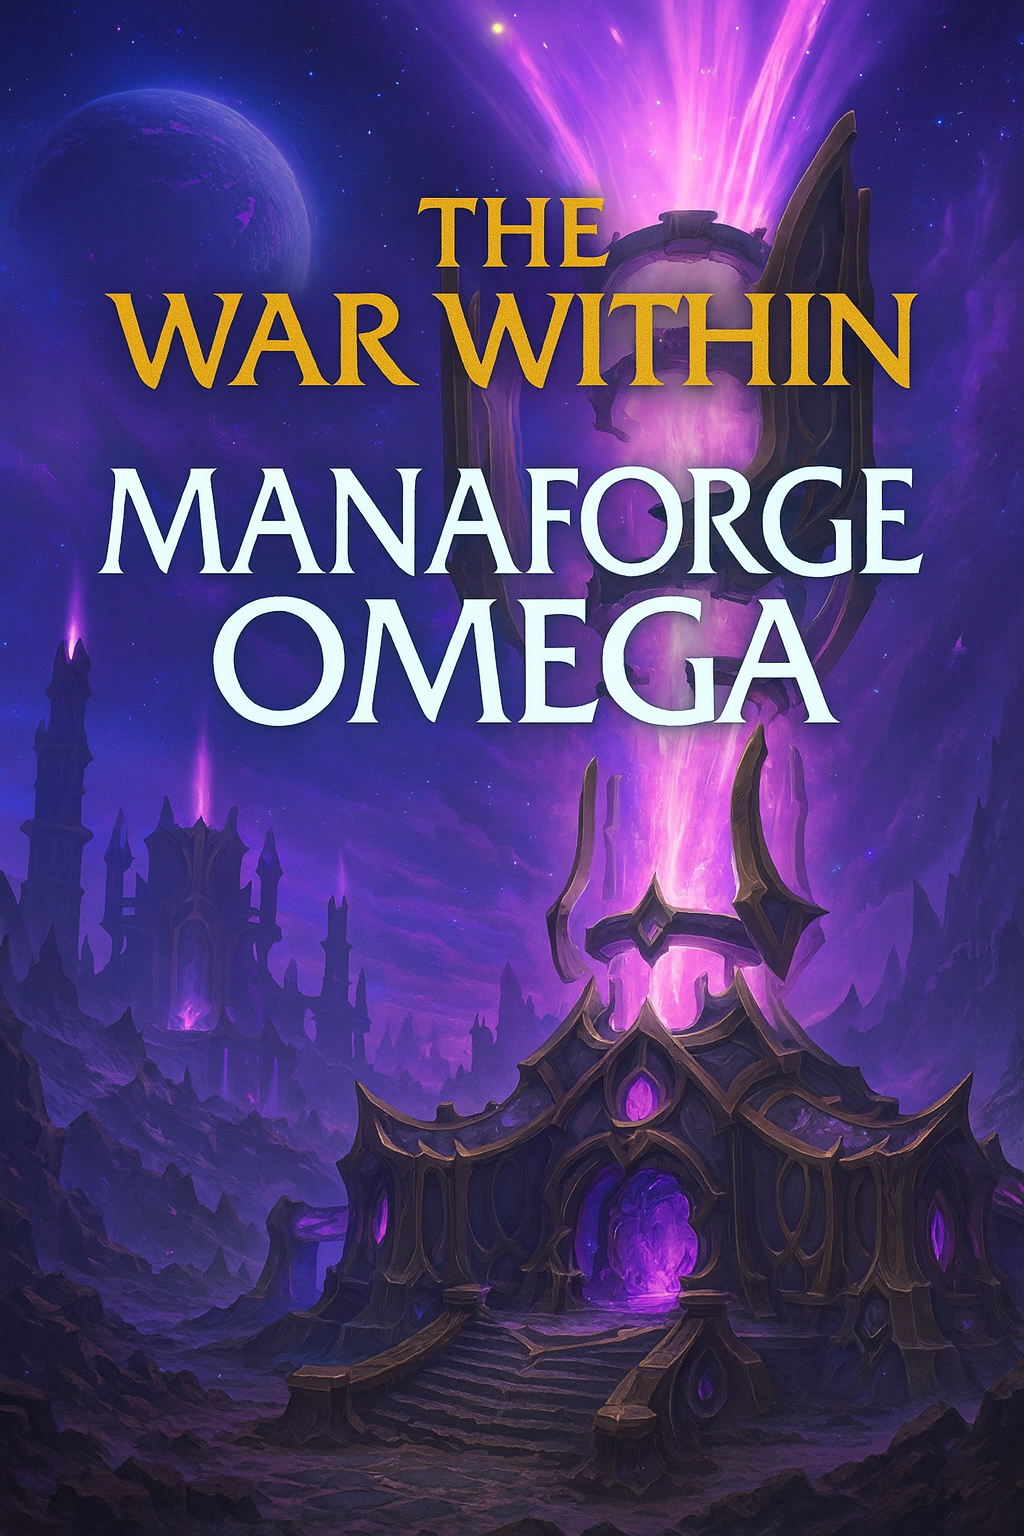
Manaforge Omega
Manaforge Omega marks the third and final raid of The War Within. This colossal facility, hidden deep within the shattered world of K’aresh, was built to siphon and weaponize the planet’s lingering cosmic energies. Now, the Shadowguard have seized control of the manaforge, twisting its power in a dark ritual to resurrect Void Lord Dimensius—the ancient terror who once annihilated K’aresh during the Burning Crusade era.
Overview
Manaforge Omega serves as the climactic raid of The War Within, set amidst the shattered remains of K’aresh. Once a marvel of ethereal design, this manaforge was constructed to harvest and channel the planet’s lingering cosmic energy. Now, it has been seized by the Shadowguard, who twist its conduits into a dark ritual to resurrect Void Lord Dimensius—the same entity that brought ruin to K’aresh during the Burning Crusade era.
Adventurers must battle through corrupted constructs, fanatical warlocks, and reality-bending void creatures within the facility’s halls. The raid spans three wings—from the outer dunes and siegeworks, through volatile conduit chambers, and finally into the heart of the manaforge, where the resurrection ritual reaches its apex.
If the Shadowguard succeeds, Dimensius will rise once more to unmake worlds. The champions of Azeroth must put an end to the ritual before the fate of K’aresh befalls their own world.
Plexus Sentinel
- Use Phase Blink (EAB) to pass the moving Arcanomatrix Atomizer wall.
- Soak Eradicating Salvo in assigned groups (2 hits on Mythic).
- Drop/avoid Displacement Matrix (traps) and void puddles.
- At 100 Energy → Protocol: Purge: boss shields; run the maze to reach the boss, break the shield while dodging lasers/void zones.
Assignments
- 2 Salvo soak groups (A/B). Mythic: 5+ players per missile or raid-wide nuke.
- Tank: swap for Obliteration Arcanocannon debuff explosion positioning.
Phase 1
- Eradicating Salvo: Stack in assigned group behind boss to split; on Heroic/Mythic, a second missile follows → Group B steps in after the first detonation.
- Manifest Matrices → Displacement Matrix: Move to the safe edge before it expires; don’t touch post-spawn traps.
- Obliteration Arcanocannon (tank): Active tank explodes after a short delay → run to edge/corner to drop Potent Mana Residue; off-tank taunts.
Intermission – Protocol: Purge (100 Energy)
- Raid knocked to entrance; EAB dash through Atomizer; run maze of lasers/orbs to boss.
- Purging Lightning ramps 25% per cast until shield is broken.
- Kill intermission adds (Mythic) before wall reaches them.
Role Duties
- Tank: Taunt swap after Cannon; place explosion far; face away from raid.
- Healer: Ramp for Purging Lightning; spot heal Salvo groups; dispel none.
- DPS: Soak on call; break shield ASAP; avoid matrices/lasers.
Heroic
- Arcane Lightning swirls during Purge; higher numbers.
Mythic
- Salvo fires two missiles; 5+ soakers each.
- Purge spawns two adds that must die; Atomizer wall also kills adds; new Brittle Nexus (maze variants) not present here.
---

Loom'ithar
- Breaking Lair Weaving rings requires tank Piercing Strand to strip Woven Ward then nuke one Infused Tangle to escape.
- Handle Infusion Tether by running to edge to snap; drops Living Silk puddles.
- At 50% → Unbound Rage (P2): boss mobile, drops arcane ichor puddles; soak alternating Writhing Wave cones in groups.
Assignments
- Two soak groups for P2 cone.
- Tank: aim Piercing Strand through a tangle to remove Woven Ward; taunt swap on Writhing Wave.
Phase 1
- Lair Weaving: collapsing ring; remove ward with Piercing Strand, kill a tangle, exit.
- Infusion Tether: tethered players run outward to snap; leave puddles safely.
- Overinfusion Burst: ramping AoE → big detonation; raid at edge safe.
Phase 2 (50%)
- Boss takes +25% damage.
- Writhing Wave: frontal split; pre-assigned group soaks each cast; tanks alternate taunts.
- Move boss to leave space between ichor puddles and avoid swirls.
Role Duties
- Tank: Strand lines; P2 taunt/position cone to groups.
- Healer: Spot heal tethers; CDs for Burst and Arcane Outrage pulses.
- DPS: Nuke freed tangles; dodge Fel Rush lines in intermission-like effects (if present on difficulties).
Heroic
- Woven Ward active in P1 (must Strip with Strand).
- Writhing Wave affected players take +350% damage taken from future Waves.
Mythic
- Infusion Pylons beam to boss; players rotate to block beams (stacking Hyper Infusion) to prevent Excess Nova.
- Heavier numbers throughout.
---

Soulbinder Naazindhri
- Use Soulfray Annihilation orbs to break specific incubation chambers; kill released adds quickly.
- 3 rounds, then Intermission: all remaining chambers open—burn priority adds.
Assignments
- Break order per wing (Phaseblade → Mage → Assassin).
- Interrupt: Mage Void Burst.
- Tank: swap on Mystic Lash stacks (~6); move boss near target chamber before each orb.
Phase 1
- Soul Calling: shielded souls in chambers.
- Soulfray Annihilation: line on players; position behind chosen chamber to break.
- Arcane Expulsion: raid knockback—watch edges.
- Soulfire Convergence: lines then 5 orbs shoot out—spread, don’t cross.
Intermission
- All adds spawn; burn Phaseblades > Mages > Assassins.
- Dispel Void Burst DoT if it lands; interrupt casts; heal through Spellburn pulses.
Role Duties
- Tank: Taunt at 6+ stacks; drag boss to target chamber; keep adds under boss for cleave.
- Healer: Plan CDs for Intermission; cleanse Void Burst; watch Convergence splash.
- DPS: Aim Annihilation beams; cleave packs; focus priorities.
Heroic
- Mark of Power on echoes; keep boss ≥20y from echoes; Astral Mark prevents soaking reduction on the next Obliteration target.
Mythic
- Chambers need Convergence orbs to break Arcane Sigils; Containment Breach aura on dead collectors in intermission (heavy AoE); bigger numbers.
---

Forgeweaver Araz
- Arcane Obliteration is a split-soak on tank; add spawns on impact—cleave under boss.
- Invoke Collector: adds spawn tethered to a collector—CC and kill before reaching it.
- Collectors Phase (Intermission): boss immune; split groups to kill collectors, intercept beams at 100 energy; then 12s Burn Phase (boss takes +100%).
- P2 (Dark Singularity): constant pull to front—avoid; kill adds moving to singularity.
Assignments
- Two soak teams alternate Obliteration.
- Collector groups with stuns/knockbacks.
Phase 1
- Handle Obliteration → soak away from raid; taunt swap debuff.
- Invoke Collector: 3 linked players spawn adds that path to a specific collector; drop under boss for cleave; stop them with CC.
Intermission — Collectors
- Kill highest energy first; tanks intercept Arcane Convergence beams at 100; avoid floor lines; finish all to exit.
Phase 3 (Post-Intermission burn)
- 12s Mana Splinter: blow CDs.
Phase 2 (Dark Singularity)
- Knocked to entrance; platform pulls forward; kite against pull; kill adds from Void Harvest before they reach singularity.
Role Duties
- Tank: Soak/taunt Obliteration; during intermission catch beams; keep boss ≥20y from echoes (if present).
- Healer: Raid CDs for Silencing Tempest and intermission pulses; dispel nothing.
- DPS: Priority: adds→collectors; burst during burn window; control harvest adds.
Heroic
- Mark of Power aura when boss near Echo → avoid proximity; Astral Mark prevents soaking reduction next time.
Mythic
- Void Tear & empowered Manifestations; Containment Breach aura when collector dies; much higher AoE—synchronize kills.
---

The Soul Hunters (Council)
- Three bosses, separate health; kill close together to manage Unstable Soul pulses.
- On pull assign Devourer’s Ire “consumers” to catch 3 purple orbs.
- Tank: one on Velaryn (Eye Beam) and one on Ilyssa (Fracture).
- Intermissions rotate per boss after ultimates.
Assignments
- 2 Ire Consumers at start (Heroic+: dispel at ~8–10 stacks to bounce).
- Two tanks: swap per Eye Beam/Fracture rhythm; pick up Ilyssa fragments.
Phase 1 (All three up)
- Adarus: Devourer’s Ire → consumers soak; avoid Voidstep lines/void pools; dispel Ire at high stacks to jump.
- Velaryn: The Hunt through a line of players to reduce; Eye Beam on tank—aim away.
- Ilyssa: Fracture spawns soul fragments; others collect; avoid Spirit Bomb with fragments up.
Intermissions (rotate)
- Adarus — Ceaseless Hunger: central pull + falling fragments → soak safely; spread DoT on Heroic.
- Velaryn — Demon Within: dodge Fel Rush lines; minimal movement.
- Ilyssa — Unrelenting Pain: Leap + Frontal beam (Fel Devastation)—sidestep; Heroic adds Withering Flames slow.
Role Duties
- Tank: Face Eye Beam away; run against push during Hunt; gather Ilyssa fragments safely; swap per mechanics.
- Healer: High tank/spot healing; plan CDs during intermissions and Spirit Bombs.
- DPS: Keep health balanced; help soak Hunt line; collect fragments.
Mythic Highlights
- Eradicate shadow cleave from Adarus; The Hunt marks multiple targets and applies Weakened Prey; Sigil of Chains from Ilyssa; frequent Soul Tether in intermissions—stay within tether range.
---

Fractillus
- Arena has 6 lanes; when Crystalline Shockwave or tank Shockwave Slam hits, it places a Crystal Wall in the target’s current lane.
- Designate one Safe Lane to stack; designate one Tank Lane for slams.
- Breaking walls (via Crystal Encasement knockback) sends Nexus Shrapnel circles.
Assignments
- Safe lane call;
- Wall breakers (players with blue arrow / encasement) move to lanes that need a break.
Mechanics
- Crystalline Shockwave: targets players → after delay, place a wall at their lane; move off safe lane when targeted.
- Shattershell: several players get DoT → at expire, become Crystal Encasement (root 4s) then pop/knockback—use to break a lane needing a clear.
- Shockwave Slam (tank): big hit; places a wall in the tank’s lane; taunt swap; tank always in Tank Lane.
- Shattering Backhand (100 energy): knocks encased players to break walls; raidwide.
Role Duties
- Tank: After each Slam, move to Tank Lane; keep boss centered; call taunts.
- Healer: Heavy AoE when multiple walls break; watch encased players.
- DPS: Spread when Shattershell; move to correct lane before encase; avoid making a 6th wall in any lane.
Heroic
- Void‑Infused Walls cause Null Consumption/Explosion DoTs when broken—spread.
Mythic
- New Brittle Nexus that applies raid Crystal Lacerations when broken; Slam creates 3 walls behind tank—strict Tank Lane discipline.
---
Nexus-King Salhadaar
- Phase 1: Everyone has Oath‑Bound (x3) → must soak Conquer (split cleave) to remove stacks or you get MC at end. Tanks trade during each Conquer/Vanquish combo; aim Vanquish away. Avoid Behead tracks.
- Phase 2 (50%): Portals spawn (Netherbreaker) → spread 30y; Dimension Breath fires through portals; tank aim frontal away; dodge portal beams.
- Intermission 1: Teleport to side platforms; kill adds; dodge rotating lasers; return.
- Intermission 2 (Dragon burn): Boss immune, dragon takes +100% damage—pop CDs and nuke.
- Phase 3: Galactic Smash spawns Dark Stars that pull; position near edge to cancel pull; Starkiller Swing missiles must hit Dark Stars to shatter space and make room.
Assignments
- Two balanced groups (left/right) for side platforms.
- Track Oath‑Bound cleanses.
Role Duties
- Tank: Taunt every combo; aim Conquer into groups (to cleanse) and Vanquish away; in P2 keep frontal away; in P3 stand out for ring dodges.
- Healer: Plan CDs in Intermission 2 (raidwide burn) and during P3 rings; watch Smash pulls.
- DPS: Soak Conquer; split for portals; burst dragon in I2; aim Swing into different Stars.
Heroic
- More targets for Galactic Smash; P3 Dark Stars orbit center.
---

Dimensius
- Assign 4 Gravity Players to pick up Excess Mass (from Living Mass adds) and rescue Reverse Gravity targets; these players stack during Devour to generate Collective Gravity (≥ Growing Hunger stacks) so nobody is eaten.
- Shattered Space drops Antimatter spheres—players stand inside to reduce the final blast.
- Intermission (Skyriding): Mount up, fly via Umbral Gates, grab a Stellar Core, land on your assigned Voidlord platform; kill Voidlords while dodging beams.
- Phase 3: Boss destabilized (bonus damage), then Extinguish the Stars (orbs orbiting → Gravity Wells). Devour pulls everyone—stay inside a Well; handle Darkened Sky meteors and Cosmic Collapse tank buster.
Assignments
- 4 Gravity Players; split raid into two platform teams for Voidlords; tank buster externals for Cosmic Collapse.
Phase 1 — Critical Mass
- Massive Smash: tank away from edge; knockback + spawns Living Mass adds → kill; Gravity players each pick 1 stack of Excess Mass.
- Dark Matter / Shattered Space → Antimatter: spread then stand inside spheres to mitigate final detonation.
- Reverse Gravity: affected players float; Gravity players stand beneath to bring down.
- Devour (100 energy): whole raid stacks with Gravity players to meet check; each new cast increases Growing Hunger.
Intermission — Event Horizon (Skyriding)
- Fly through Umbral Gates to refresh vigor; avoid jets, world shards, black holes; grab one Stellar Core; land on assigned platform.
Phase 2 — The Dark Heart (Add platforms)
- Kill platform Voidlord quickly; interrupt/avoid knockbacks; tanks manage Touch of Oblivion stacks; clear space by killing Voidwardens smartly (don’t chain-heal them with Entropic Unity).
Phase 3 — Singularity (Final)
- Destabilized +50% dmg window at start—lust here.
- Extinguish the Stars: stand near a Voidstar Gravity Well to survive the next Devour pull; avoid Black Holes from Supernova.
- Darkened Sky: memorize ring order; stagger crossings to avoid stacking debuff.
- Cosmic Collapse (tank): face away; everyone else avoid being pulled through boss (Heroic+).
Role Duties
- Tank: Anchor Smash away from raid; taunt as needed; during P3 hold during Collapse while raid positions; on platforms, manage Touch of Oblivion stacks.
- Healer: CDs for Antimatter finals, Devour, Gamma Burst, and Extinguish.
- DPS: Kill Living Mass simultaneously (Mythic); handle platform priorities; burst during Destabilized; feed Starkillers if any overlap.
Heroic
- Dark Matter leaves Dark Energy pools; Cosmic Collapse pulls raid toward tank; higher numbers.
Mythic Highlights
- Living Mass Infinite Possibilities → must deplete all adds simultaneously or they fully heal.
- Reverse Gravity requires multiple Gravity players (Anomalous Force) to rescue.
- Gravitational Distortion debuffs (Crushing vs Inverse) during platform phase.
- In P3, Stellar Overload if ≥6 players in one Gravity Well; Devour triggers Supernova on occupied stars—pre-plan assignments.
---
# Global Prep & Tools
- Hero/Lust: Sentinel pull, Loom’ithar P2, Araz post-collectors burn, Soul Hunters pull or intermission as needed, Salhadaar Intermission 2 burn, Dimensius P3 start (recommended).
- Personal defensives: soak mechanics (Salvo, Hunt line, Conquer, Obliteration, Collapse, Antimatter, Devour checks).
- Healthstones/Health pots: Purging Lightning; Overinfusion Burst; Extinguish/Devour combos; Darkened Sky rings.
- Utility: Knockbacks/Grips for add control (Araz collectors, Void Harvest, Voidlords). Raid markers for lanes (Fractillus), soak groups, platform splits.
---
End of Guide. Update assignments to your roster size and composition.